House Haven Tour: The Blissful Bee

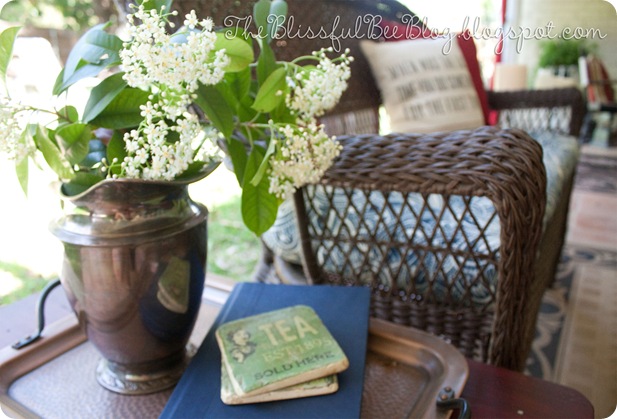
I first want to thank Chas for the shout out! I still consider myself a new blogger, so I'm very appreciative when I discover new bloggy friends! My name is Amy from The Blissful Bee and I just love all things design - especially in my home.

I have always considered my home my haven because it's the one place I can truly call mine {and the hubby's of course}. It's the one place in this world that you can make all your own. It's the place I wake up to and come home to every day - It's my happy place:)

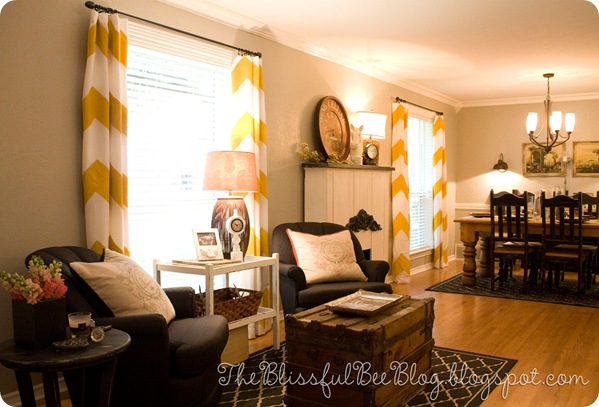
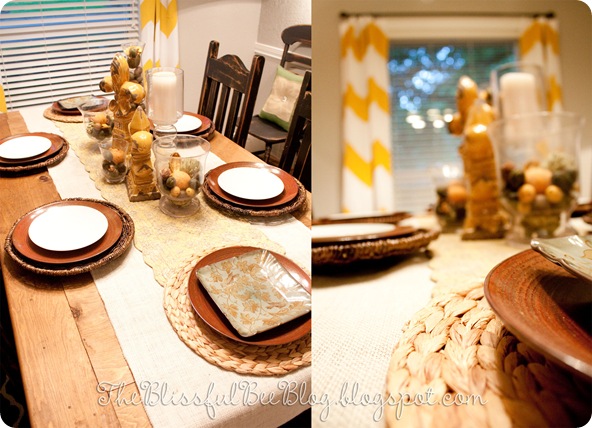
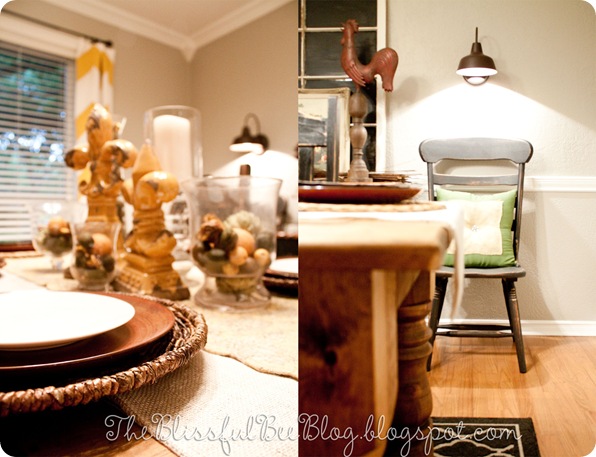
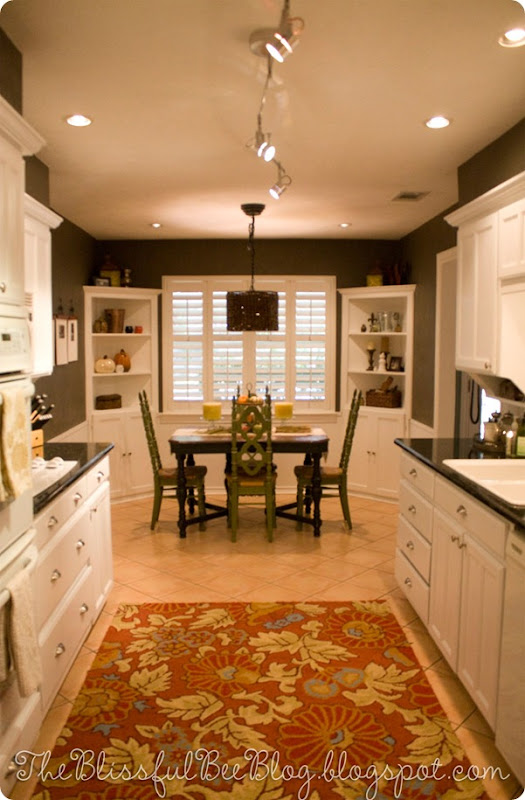
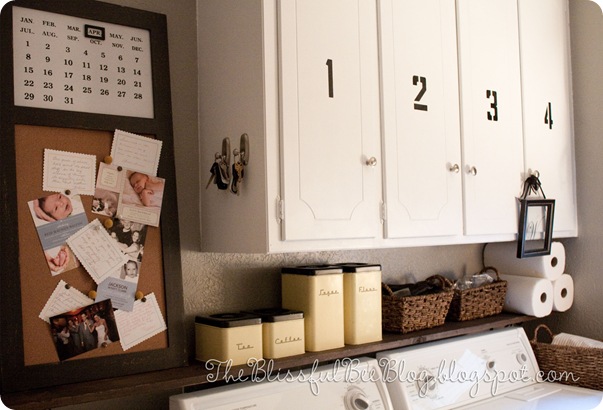
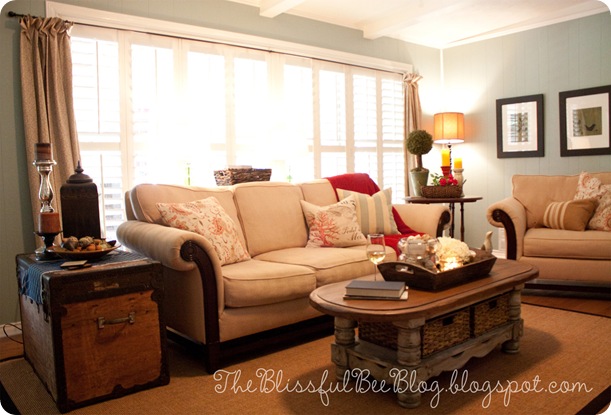
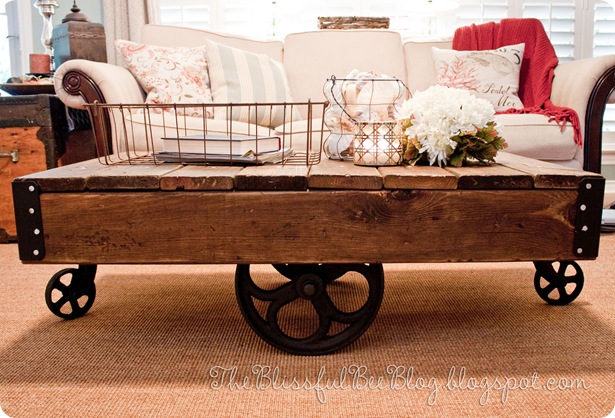
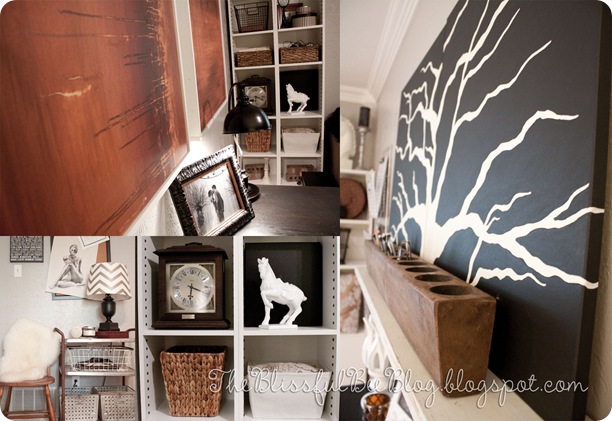
Here are a few snap shots of my happy home. I hope you enjoy!

formallivingdining4dining5

kitchenlaundry1LivingRoomFactoryCart2OfficeAfter3porch

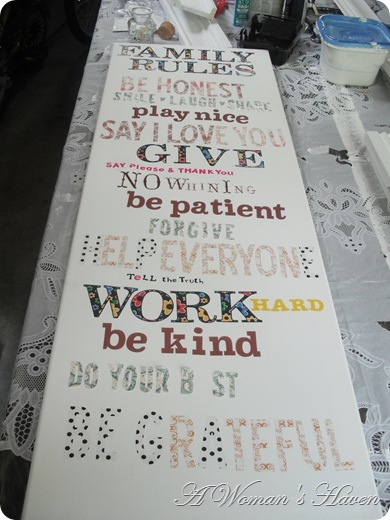
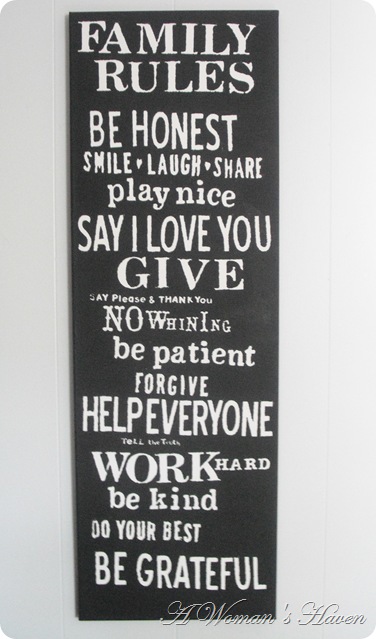
Family Rules Subway Art

I have been wanting to make my own subway art for sometime now. Using a blank canvas, stickers, and black paint I finally tackled the project.

021

I am really happy with how it turned out!

036

Visit my {Linky Parties} page to see the parties I am participating in.

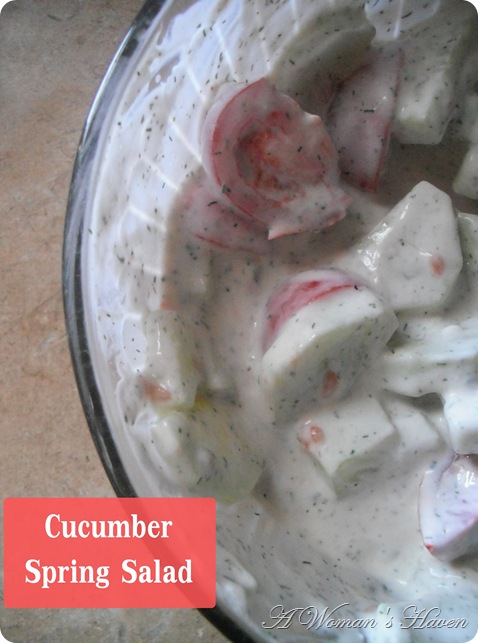
Cucumber Spring Salad

171

Cucumber Spring Salad:

2 Cucumbers (peeled and cut into slices)
5 Cherry Tomatoes (cut into quarters)
Hidden Valley Dill Seasoning
1/2 cup of Sour Cream
1/4 cup of vinegar

Mix all items together!

YUM!

Visit my {Linky Parties} page to see the parties I am participating in.

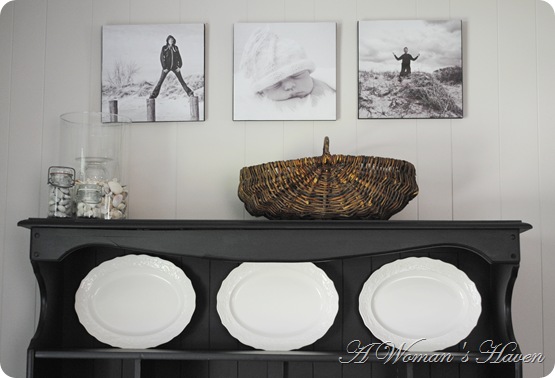
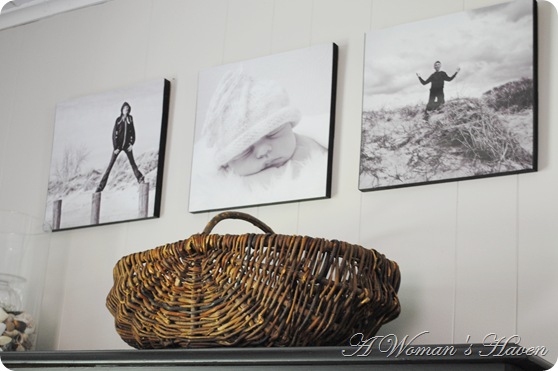
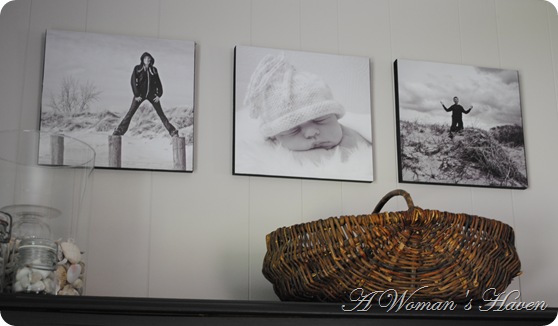
DIY Photo Boards

1311

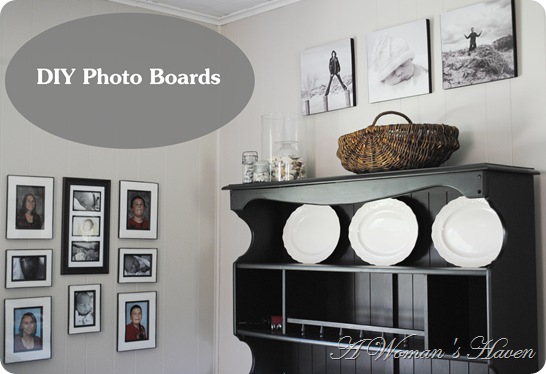
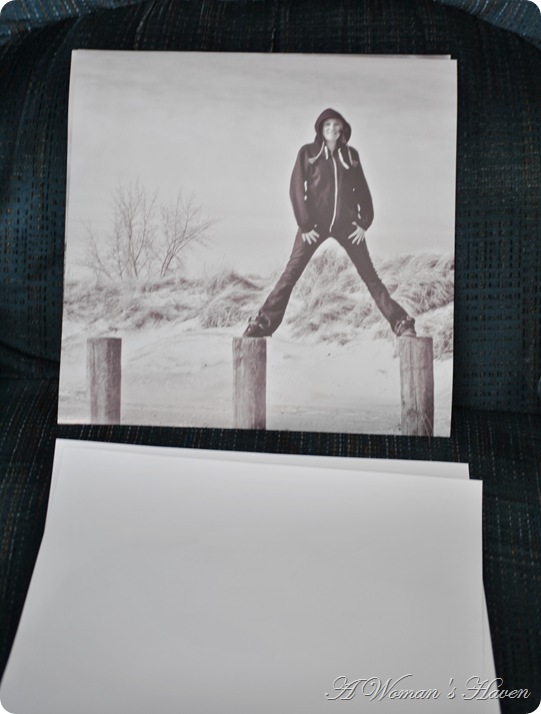
A friend of mine made these photo boards for a family member at Christmas time and I loved the look of them so I created a few to hang in our home. I emailed my photos to the local Staples store and had them print off 3 12x12 prints for me. Each print cost me $8 which I thought was a great price! I was also very happy with the quality of the prints.

148

Items needed:

Pine boards cut to 12x12 size
12x12 photos
Mod Podge
Paint
Hanging mechanism

043

The Process:

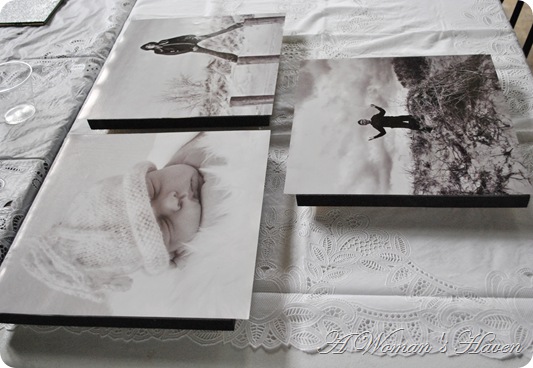
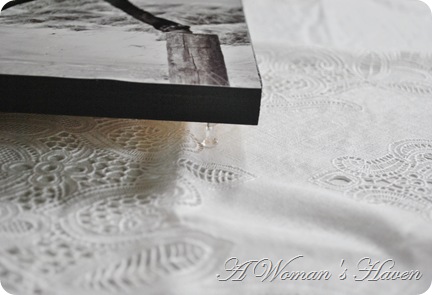
Step 1) Paint edge of the boards in your desired color. I choose black.
Step 2) Glue photo to the board. I used Mod Podge as my gluing medium. Only apply glue to the back side of the photo.
Step 3) Let dry overnight.
Step 4) Attach hanging mechanism

Tips & Tricks for completing the project:

Before painting the edges of the boards put a push pin into the back side of the board. This made it very easy to paint the edges and adhere the photo.

045

Use a pop tab for a very inexpensive way to hang the photo boards.

002

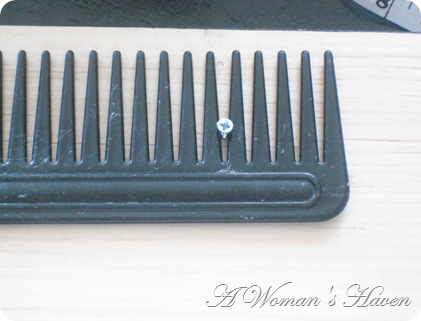
Use a comb to hold the screw in place while attaching your hanging mechanism.

001

121123125

I love simple and inexpensive projects!

131

Visit my {linky parties} page to see the parties I am participating in.

Project Feature

Head on over to {It’s Overflowing} to see a project of mine in her Overflowing with Creativity party feature!

Project Feature

Head on over to {homework} to see her inspiration spotlight featuring a project of mine!

homework

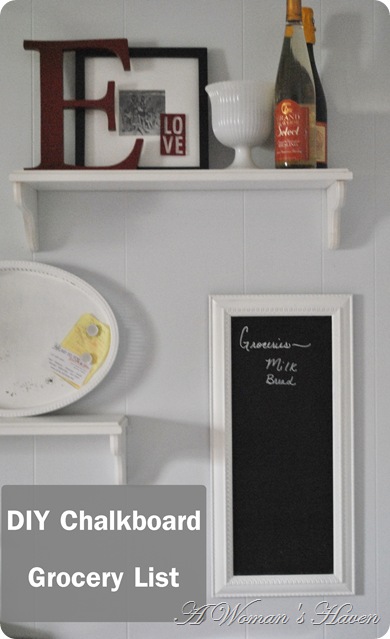
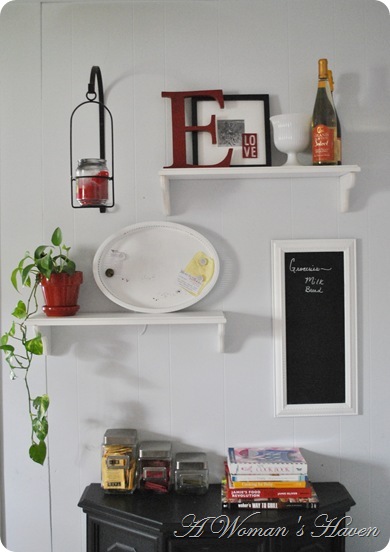
DIY Chalkboard Grocery List

0701

I picked up two of these frames from the Habitat for Humanity Resale store for a couple dollars. I liked the shape of them and thought one would be perfect for listing groceries in the kitchen.

075

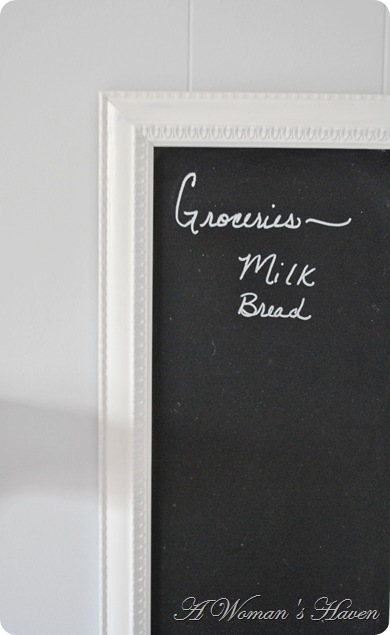
I painted the frame a crisp, bright white and then applied three coats of chalkboard paint right over the glass.

074

It fits in perfectly!

068

Visit my {Linky Parties} page to view the parties I am participating in.

Chevron Cuties

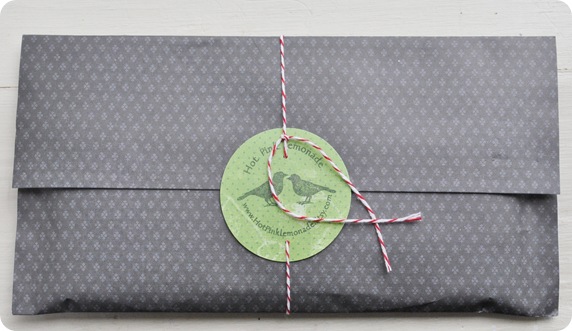
I was so excited to get my mail today! My mailbox had these two cuties in it…

051

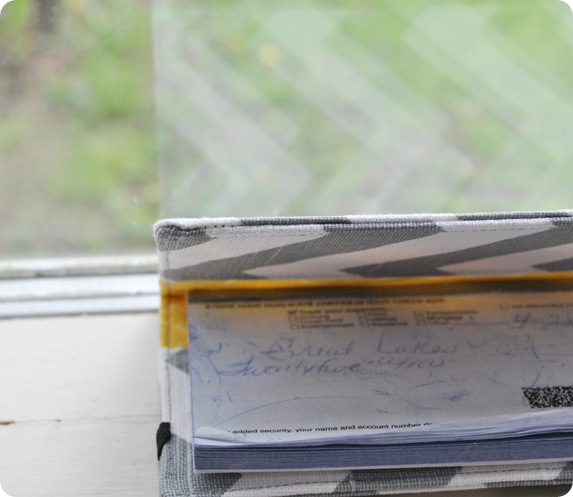
Checkbook cover in grey chevron from the {Hot Pink Lemonade} Esty Shop.

053

See the pretty yellow inside lining!

057

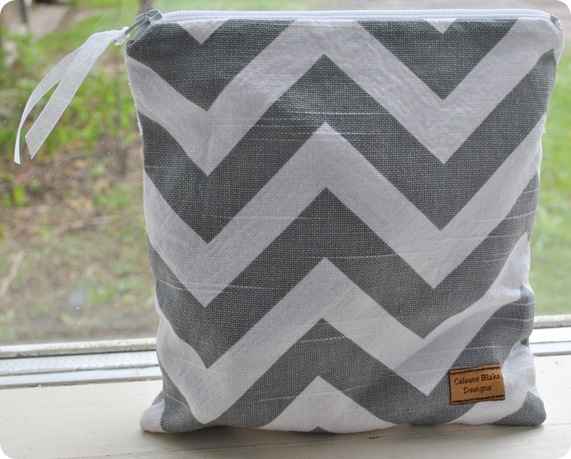
The second little cutie is a zipper bag from {Celeste Blake Designs} Esty Shop. I thought it would be perfect for holding all the small items in my purse.

056

The insides of my purse just got more organized and cuter!

Facebook Follow Along Friday

We want to connect with YOU!

This week we're focusing on building & connecting on Facebook. every other Friday we want to connect with you on Social Media -- Twitter, Pinterest, Facebook...

we are featuring four fabulous blogs this week:


how to connect:

1: "like" the first FIVE lovely featured hosts linked up below!!

{using your personal page is great because then these awesome women will show up in your personal feed & they get the benefit of watching their fan numbers grow with new friends & connections.}

2: Link up by following two EASY steps! Step #1: Fill out the quick form below & enter your FACEBOOK FAN PAGE URL into the "URL" section. Step #2: On the next screen, select "Upload from Computer". Consider selecting your brand or logo to help build brand awareness of your blog or business. {Or your pretty face is fine too!}

3: Go to as many links as you can {leave them some comment lovin' and i'm SURE they will return the follow-back favor.} come back in a few days & check out a couple more!

4: IF you want to share our little get together, please tweet: “follow along with @byAimeeSki today at http://wp.me/p1yWH4-dV." or you can always tell your lovely Facebook followers too!

5: Come back and leave a comment at the end of our post telling us who your favorite page is... or the friendliest commenter... or the sweetest product offerings... or the loveliest timeline. Our features & I will take a vote and pass out some blog badges on Wednesday!

Thanks for stopping by today. We look forward to following along with everyone that links up!

{Don’t want to miss another one of our fancy dancy Follow Along parties? Sign up for email news in the sidebar!}