Showing posts with label Guest Post. Show all posts

House Haven Tour: A Little Glass Box

A BIG TURKEY WEEK hello to you all! I’m so excited to stop by and share my house on A Woman’s Haven. You can normally find me over at {A Little Glass Box} but today I am so lucky because I get to play hooky and visit with all of you on Chas’s amazing blog!
I am a military wife with a one year old, who makes it a priority to find time to enjoy fun food, design, and DIY projects on a daily basis. I would say my design style is eclectic and comfortable. Let’s face it, with a wee one and two furry friend we have learned to be flexible in our aesthetic and adapt our design around our family. We recently moved from our 105 year old row house in Baltimore to a rental country casa right outside San Francisco.
I would love for you crazy kids to stop by the ole’ blog some time and say hello!
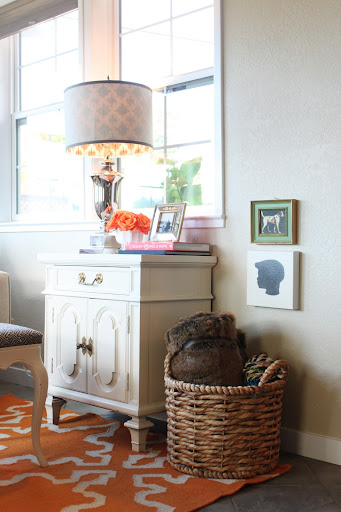
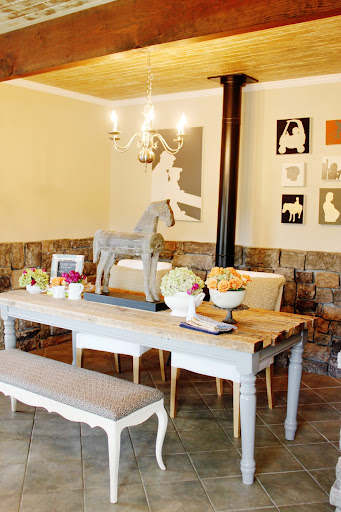
One of the things I love most about my home is all of the natural sun light. I am constantly surrounded by a warm glow which is both cozy and comforting to me. I also love the personality this small little house has to offer. Between reclaimed wood floors as ceilings and exposed rock in the dining room there is no lack of good bones in this space. It has been quite an adjustment to be renting again for the first time in five years, but it has really opened me up to a whole new world of design possibilities and projects.
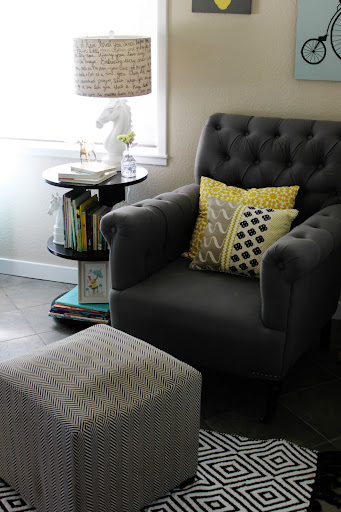
One of the challenges of this house is how small some of the rooms are. The living room is only 9.5 x 8 but I have not let that stop me from going big with design. 
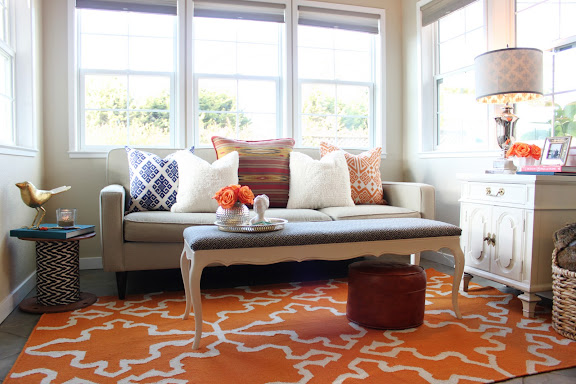
 
 
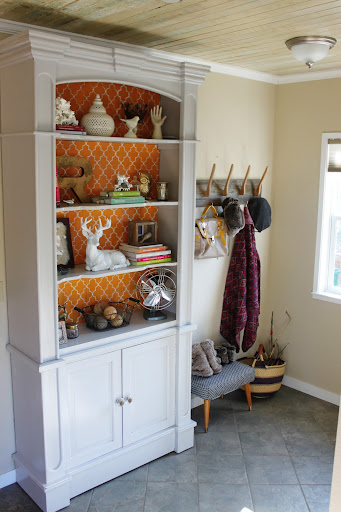
I have worked hard to use every square inch of space including creating an “office” in the kitchen or a “mudroom” in the entry way. I love mixing key splurge items with inexpensive craigslist or thrift store finds and that is the method I used for every room in the house.
IMG959980
IMG950034
  Our space really works for us and at the end of the day that makes my heart happy and keeps me going.
Thanks so much for having me! I hope you found some inspiration in my lil’ rental house!
Xo
Court

Guest Post: Between U & Me

Hi All! I am Courtney and my blog home is over at Between U & Me! I am so happy to be here today at A Woman's Haven! I love coming here and checking out all the awesome inspiration that Chas has to offer!
 
 
Today, I'm going to do a little tutorial on how to make the EASIEST custom jewelry hanger, that you can hang right on your wall. These ones I did in pinks and greens for E's room. I'm also going to do a little walk-through of E's new "big girl" room since I'm super excited it's finally finished. Well, sort of finished. I'm never ACTUALLY finished. I'm always tweaking something here or there. Y'all know what I mean, right?
 
 
What you'll need:
2 pieces of styrofoam
2 pieces of scrapbook paper
Screw-in hooks
Hot Glue
Sawtooth Hanger
Spray Adhesive
Embellishments
 
 
1. Start out by cutting your scrapbook paper to fit your styrofoam. Don't forget to cut strips to cover the sides.

2. Then, using your spray adhesive, adhere the paper to the styrofoam. To make the stick hold even better, spray your surface and then let it sit for 1 minute before you adhere the paper to the styrofoam.

3. After the glue is nice and dry, decide how many hooks you want hanging down for your jewelry to hang on. (I decided 4 would be good for mine.) Measure the space evenly for your hooks and mark your spots. Then, take your screw-in hooks and apply a little hot glue to the tip and then shove it in where you have made your marks.

4. Again, use your hot glue gun to apply the sawtooth hanger on the back. Position it in the middle and towards the top.

5. Lastly, embellish the front. I decided to add some glittery letters that read "sweet" for my "sweet" little one. Voila!


Here is her "big girl" bed and L's old guardrail (which is why it doesn't match). I thought about painting it, but she's not going to have it much longer so I didn't bother. The butterfly mobile is a Pottery Barn knock off that my mom made for E.

When E gets older and I'm convinced she won't electrocute herself on that pretty lamp she has on her dresser, I'll move it to the bedside table along with some other little knick knacks for her.
 
I hope you enjoyed this little tutorial and that you'll come over to Between U & Me and say "hi!"

Visit Between U & Me

Head on over to Between U & Me to view my guest post and all of the other great inspiration Courtney has to offer!